Interfacing Touch Sensor with Arduino
Introduction
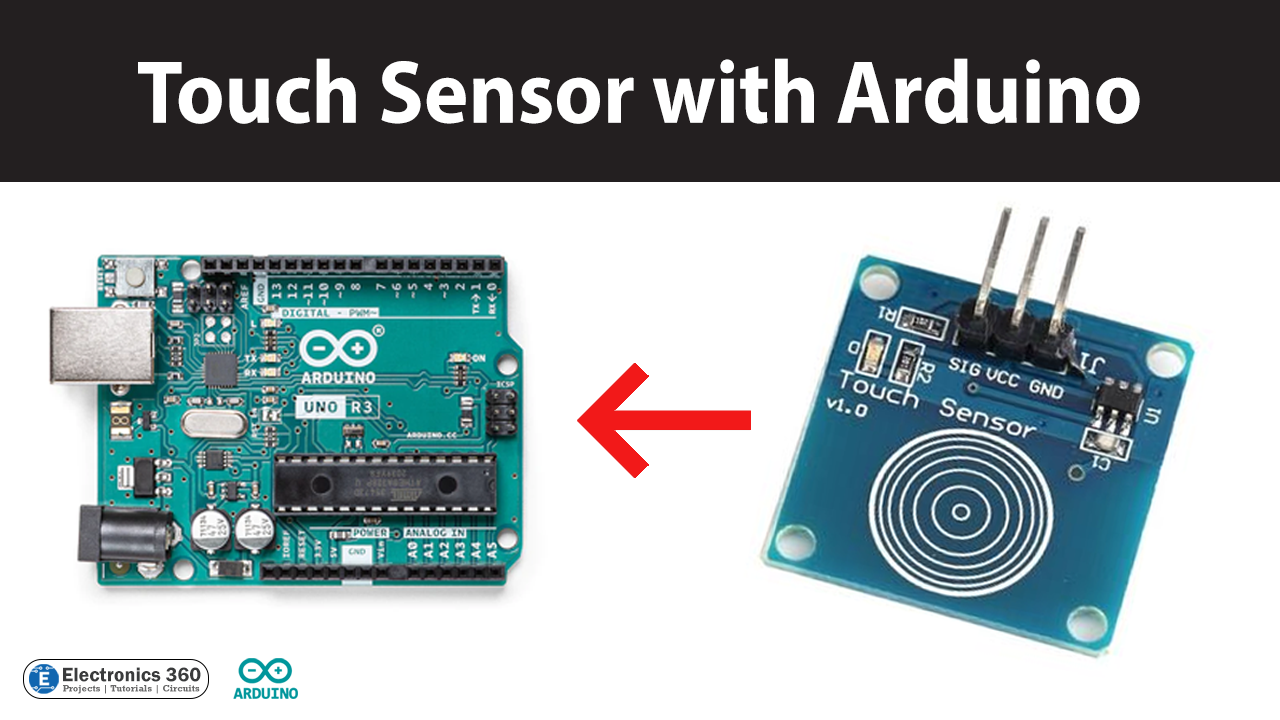
Touch sensors are rapidly becoming the preferred choice for controlling electronic devices, thanks to their ease of use, versatility, and low cost. An Arduino is an excellent platform for interfacing with touch sensors, offering a wide range of functionalities and a user-friendly interface.
In this article, we will explore the basics of interfacing Touch sensors with Arduino and discuss some useful tips and tricks for building touch-enabled projects.
What is Touch Sensor?
A touch sensor is an electronic device that detects the touch or proximity of a physical object, such as a finger or a stylus. It works by measuring the changes in capacitance or resistance that occur when an object comes into contact or approaches its surface. Touch sensors are widely used in various applications, such as smartphones, tablets, gaming consoles, and home automation systems, to provide users with a tactile and intuitive interface for controlling and interacting with electronic devices.

Hardware Components
To interface Touch Sensor with Arduino, you'll need the following hardware components to get started:
| Components | Value | Qty |
|---|---|---|
| Arduino UNO | - | 1 |
| USB Cable Type A to B | - | 1 |
| DC Power for Arduino | - | 1 |
| Touch Sensor | - | 1 |
| Jumper Wires | - | 1 |
Touch Sensor Pinout

| Pin Name | Pin Description |
|---|---|
| GND | Ground Pin |
| VCC | VCC Pin |
| SIG | Signal pin |
Touch Sensor Arduino Circuit
Make connections according to the circuit diagram given below.

Wiring / Connections
| Arduino | Touch Sensor |
|---|---|
| 5V | VCC |
| GND | GND |
| D2 | SIG |
Installing Arduino IDE
First, you need to install Arduino IDE Software from its official website Arduino. Here is a simple step-by-step guide on "How to install Arduino IDE".
Installing Libraries
Before you start uploading a code, download and unzip the following libraries at /Program Files(x86)/Arduino/Libraries (default), in order to use the sensor with the Arduino board. Here is a simple step-by-step guide on "How to Add Libraries in Arduino IDE".
Code
Now copy the following code and upload it to Arduino IDE Software.
//Change the pin here according to your connection
const int touch_pin = 2;

void setup()
{

/* make sure that, when you open the serial terminal, you set the baud rate to match the baud rate you define in the following line. You can choose 115200, 9600, or any standard baud rate. Make sure both baud rate matches */

  Serial.begin(14400);

  //define the touch pin as an input pin
  pinMode(touch_pin, INPUT);
}

//read the button status and display the message once touch is detected
void loop()
{
  if (digitalRead(touch_pin) == HIGH)
  {
    Serial.println("Touch detected!");
    delay(100);
  }
}
Code Explanation
This Arduino code defines a touch sensor pin as pin 2 and sets it as an input pin. In the setup() function, the code also initializes the serial communication with a baud rate of 14400 and sets the touch_pin as an input pin.
In the loop() function, the code continuously checks if the touch sensor pin is HIGH (meaning it has detected a touch or proximity). If a touch is detected, the code sends the message "Touch detected!" over serial communication, which can be viewed in the Arduino Serial Monitor. The delay(100) function is used to avoid printing multiple messages for a single touch event by waiting for 100 milliseconds before checking for the next touch event.
Applications
Here are some applications of touch sensors:
- Smartphones and tablets: Touch sensors are widely used in smartphones and tablets to provide a user-friendly interface for controlling the device.
- Gaming consoles: Many gaming consoles use touch sensors for controlling games and interacting with virtual environments.
- Home automation: Touch sensors are used in home automation systems to control lighting, temperature, and other appliances with a touch interface.
- Automotive: Touch sensors are used in car dashboards for controlling various functions such as the stereo, air conditioning, and navigation system.
- Medical devices: Touch sensors are used in medical devices such as blood pressure monitors, EKG machines, and glucose meters to provide a simple and easy-to-use interface for patients and healthcare professionals.
- Industrial automation: Touch sensors are used in industrial automation systems for controlling machinery and monitoring production processes.
- Security systems: Touch sensors can be used in security systems to detect and identify authorized personnel or to activate alarms.
- Virtual and augmented reality: Touch sensors are used in virtual and augmented reality devices to detect and respond to user interactions in the virtual environment.
- Musical instruments: Touch sensors can be used in musical instruments to create touch-sensitive interfaces that respond to the user's touch or gestures.
Conclusion.
Touch sensors with Arduino are a simple and effective way to add touch functionality to your projects. By following the guidelines presented in this article, you can quickly get started with touch sensors and create exciting and interactive projects that respond to touch.
Comments 0
Be the first to comment.
Leave a comment