How To Use DHT11 Humidity & Temperature Sensor With Arduino Uno
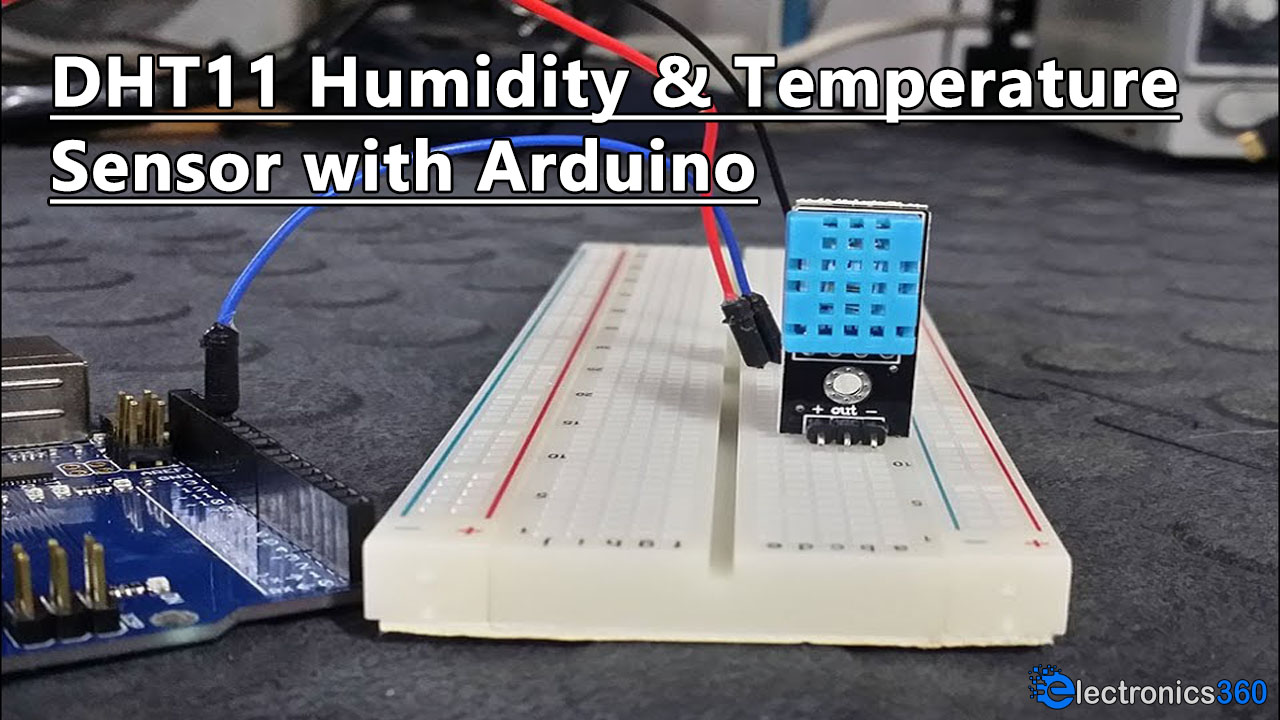
Temperature & humidity are one of the most monitored factors when it comes to maintaining equipment & personnel health. Especially when it comes to the operations of a semiconductor fabrication facility, where even one-millionth of a particle of impurity can ruin the entire semiconductor wafer. In such operations, temperature and humidity sensors are usually incorporated to ensure that these factors can be maintained at precise margins to maintain the integrity of the cleanroom. So, In today's tutorial, we are going to go over a step by step procedure on How To Interface DHT11 Humidity & Temperature Sensor With Arduino Uno.
[post_start1]What is DHT11 Humidity & Temperature Sensor?
DHT11 is a simple, low cost digital temperature and humidity sensor. The DHT11 uses a capacitive humidity sensor and a thermistor to measure the surrounding air. The sensor comes with a dedicated NTC to measure temperature and an 8-bit microcontroller to output the values of temperature and humidity as serial data. DHT11 sensor is factory calibrated and hence easy to interface with other microcontrollers. The sensor can measure temperature from 0°C to 50°C and humidity from 20% to 90% with an accuracy of ±1°C and ±1%.

Key Features & Specifications
- Resolution: 16Bit
- Repeatability: ±1% RH
- Accuracy: At 25℃ ±5% RH
- Interchangeability: fully interchangeable
- Response time: 1/e (63%) of 25℃ 6s or 1m/s air 6s
- Hysteresis: <± 0.3% RH
- Long-term stability: <± 0.5% RH / yr in
- Temperature Range: 0°C to 50°C
- Humidity Range: 20% to 90%
- Resolution: 16Bit
- Repeatability: ±0.2℃
- Range: At 25℃ ±2℃
- Response time: 1/e (63%) 10s
- Power supply: DC 3.5~5.5V
- Supply Current: measurement 0.3mA standby 60μA
- Sampling period: more than 2 seconds
Hardware Components
You will need the following parts to build this project:
| S.No | Component | Value | Qty |
|---|---|---|---|
| 1) | Temperature & humidity Sensor | DHT11 | 1 |
| 2) | Arduino Uno Board | Rev3, 8KB | 1 |
| 3) | Arduino USB Cable | - | 1 |
| 4) | Breadboard | - | 1 |
| 5) | Laptop/PC | - | 1 |
| 6) | Jumper wires | - | As per need |
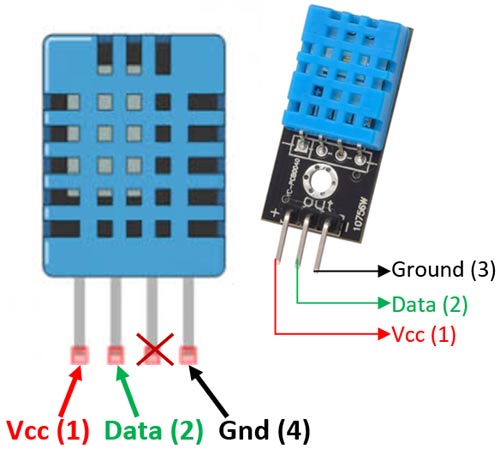
DHT11 Sensor Pinout
Useful Steps
1) Connect the GND pin of the Arduino with the GND of the of the sensor

2) After that, connect the DATA pin of the sensor with the A0 pin of the Arduino Uno.

3) After that, connect the Vcc pin of the sensor with the Vcc of the Arduino Uno.

4) Connect the Arduino Uno to a laptop/PC and upload the code provided below.

5) After that, power up & test the sensor readings on the serial monitor.

Circuit Diagram
Source Code
#include "dht.h"
#define dht_apin A0

dht DHT;

void setup()
{
  Serial.begin(9600);
  delay(500);
  Serial.println("DHT11 Humidity & temperature Sensor\n\n");
  delay(1000);
}

void loop()
{
    DHT.read11(dht_apin);

    Serial.print("Current humidity = ");
    Serial.print(DHT.humidity);
    Serial.print("%  ");
    Serial.print("temperature = ");
    Serial.print(DHT.temperature);
    Serial.println("C  ");
    delay(5000);

}
DHT11 Arduino Code Explanation
The operation of the above algorithim is given below:
Include the DHT11 sensor module library .zip file and define the analog pin (A0) for the DHT11 sensor Data pin.
#include "dht.h"
#define dht_apin A0

dht DHT;
setup()
First of all, prepare the serial monitor by writing the line Serial.begin(9600). After that, introduce a delay of 500ms in order to allow the system to boot up properly. Then print "DHT11 Humidity & temperature Sensor" on the serial monitor.
void setup()
{
  Serial.begin(9600);
  delay(500);
  Serial.println("DHT11 Humidity & temperature Sensor\n\n");
  delay(1000);
}
loop()
Initiate the DHT.read11 command for the analog pin at which the sensor data pin is connected (dht_apin). After that, the sensor will consecutively fetch & print the humidity and temperature values by using the commands DHT.humidity & DHT.temperature respectively. The loop will continuously execute until stopped.
void loop()
{
    DHT.read11(dht_apin);

    Serial.print("Current humidity = ");
    Serial.print(DHT.humidity);
    Serial.print("%  ");
    Serial.print("temperature = ");
    Serial.print(DHT.temperature);
    Serial.println("C  ");
    delay(5000);
}
Working Explanation
The working mechanics of this sensing module are as following. DHT11 humidity sensor is composed of a capacitive sensing element and a thermistor for sensing temperature. For sensing humidity the module houses a two electrodes with a moisture holding substrate in between that functions as a dielectric. With the changing levels of humidity the value of capacitance also varies. The IC measure, process this changed resistance values and change them into digital form.
In order to sense the temperature, the DHT11 simply consists of an NTC thermistor. An NTC notifies the sensor about an increase in temperature with the decreasing value of resistance of the thermistor. to get a good ohmic value even on a small change in the Temp, the sensor is made up of ceramics and polymers.
Application
- To monitor the build up of molds and fungus that can cause diseases,
- Maintaining a certain level of humidity in a storage room where fruits and vegetables are to be stored.
- To level monitor different processes such as incubation of eggs,
Download Library
You can download the Arduino library file for DHT11 Humidity & Temperature Sensor from the link given below:
See Also: Automatic Water Level Controller | LC Meter Circuit using 555 Timer | Arduino DC Motor Control using L298N Motor Driver
Comments 0
Be the first to comment.
Leave a comment