Controlling Servo Motor with Arduino
Introduction
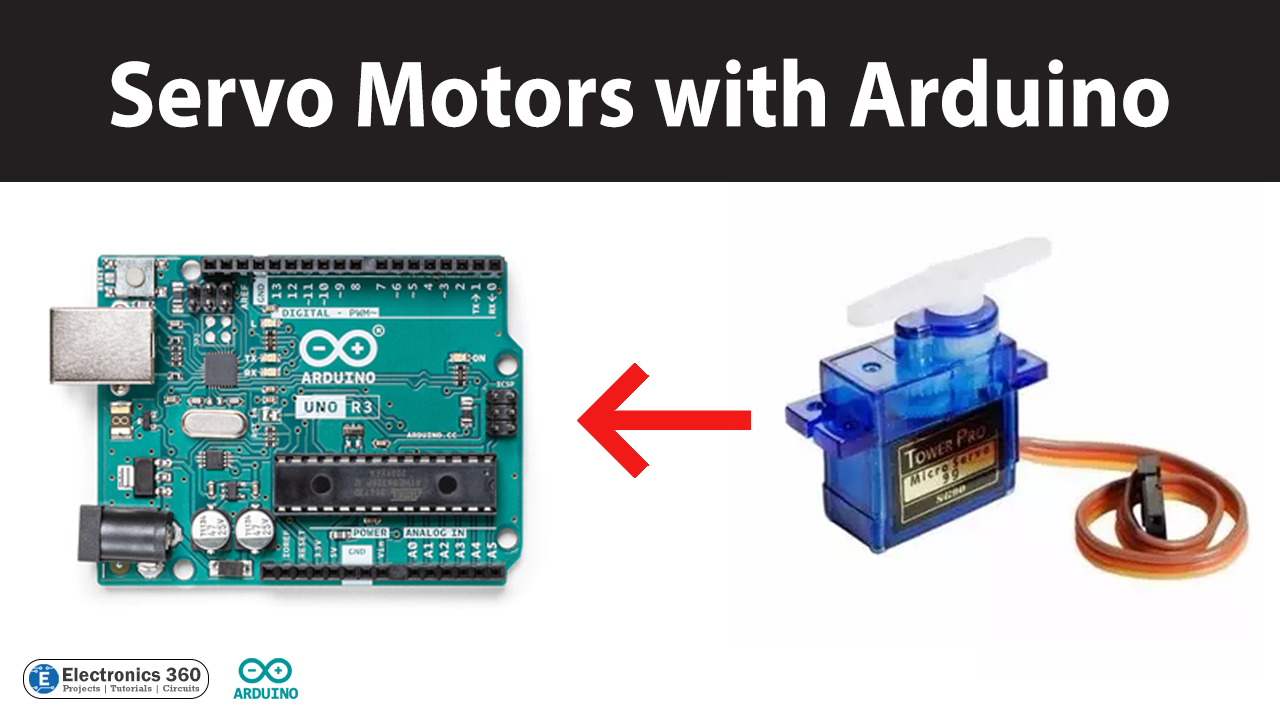
Servo motors are widely used in robotics, automation, and control applications due to their precise movement and accuracy. Arduino is an open-source electronics platform that allows for easy and flexible control of servo motors.
In this article, we will explore how to control "Servo Motors" with Arduino and create a simple project to demonstrate their functionality.
What is Servo Motor?
A servo motor is a type of rotary actuator that is designed to provide precise control of angular position, velocity, and acceleration. It is commonly used in robotics, automation, and control systems where precise motion control is required. The main feature of a servo motor is its ability to rotate to a specific angle and hold that position with great accuracy, even under load or in the presence of external forces.

Hardware Components
To interface a Servo Motor with Arduino, you'll need the following hardware components to get started:
| Components | Value | Qty |
|---|---|---|
| Arduino UNO | - | 1 |
| USB Cable Type A to B | - | 1 |
| DC Power for Arduino | - | 1 |
| Servo Motor | - | 1 |
| Jumper Wires | - | 1 |
Servo Motor Pinout

| Pin Number | Pin Name | Description |
|---|---|---|
| 1 | GND | The ground wire connected to the ground of the system |
| 2 | +5V | The ground wire connected to the ground of system |
| 3 | PWM | PWM signal is given in through this wire to drive the motor |
Installing Arduino IDE
First, you need to install Arduino IDE Software from its official website Arduino. Here is a simple step-by-step guide on "How to install Arduino IDE".
Installing Libraries
Before you start uploading a code, download and unzip the following libraries at /Program Files(x86)/Arduino/Libraries (default), in order to use the sensor with the Arduino board. Here is a simple step-by-step guide on "How to Add Libraries in Arduino IDE".
Servo Motor Arduino Circuit

Now copy the following code and upload it to Arduino IDE Software.
// Include the servo library:
#include <Servo.h>

// Create a new servo object:
Servo myservo;

// Define the servo pin:
#define servoPin 9

// Create a variable to store the servo position:
int angle = 0;

void setup() {
  // Attach the Servo variable to a pin:
  myservo.attach(servoPin);
}

void loop() {
  // Tell the servo to go to a particular angle:
  myservo.write(90);
  delay(1000);
  myservo.write(180);
  delay(1000);
  myservo.write(0);
  delay(1000);

  // Sweep from 0 to 180 degrees:
  for (angle = 0; angle <= 180; angle += 1) {
    myservo.write(angle);
    delay(15);
  }

  // And back from 180 to 0 degrees:
  for (angle = 180; angle >= 0; angle -= 1) {
    myservo.write(angle);
    delay(30);
  }
  delay(1000);
}
Code Explanation
This code is an example of how to control a servo motor using an Arduino board. The code starts by including the Servo library, which provides the necessary functions to control a servo motor. Then, a Servo object is created and assigned to a specific pin (in this case, pin 9). The code defines a variable to store the servo's position and sets up the initial position of the servo.
In the loop function, the code first sets the servo to three different fixed positions (90, 180, and 0 degrees) with a delay of one second between each position. Then, the code uses a for loop to sweep the servo from 0 to 180 degrees and back again, with a delay of 15 milliseconds between each angle change. Finally, there is a delay of one second before the loop starts again.
Overall, this code provides a basic example of how to control a servo motor with an Arduino board, and it can be modified and expanded upon to suit more complex applications.
Servo Motor with Potentiometer Circuit
Controlling the position of a servo motor with a potentiometer is very easy and can be very useful if you want to adjust the motor position by hand.

#include <Servo.h> // include the required Arduino library

#define servoPin 9 // Arduino pin for the servo
#define potPin A0 // Arduino pin for the potentiometer

int angle = 0; // variable to store the servo position in degrees
int reading = 0; // variable to store the reading from the analog input

Servo myservo; // create a new object of the servo class

void setup() {
  myservo.attach(servoPin);
}

void loop() {
  reading = analogRead(potPin); // read the analog input
  angle = map(reading, 0, 1023, 0, 180); // map the input to a value between 0 and 180 degrees
  myservo.write(angle); // tell the servo to go to the set position
  delay(15); // wait 15 ms for the servo to reach the position
}
Code Explanation
The code first includes the Servo library and defines the Arduino pin numbers for the servo and potentiometer as servoPin and potPin, respectively.
It then declares and initializes two integer variables: angle, which will store the desired servo position in degrees, and reading, which will store the current value of the potentiometer.
Next, the setup() function initializes the servo object using myservo.attach(servoPin).
Finally, the loop() function continuously reads the potentiometer value using analogRead() and maps the value from the range 0-1023 to a range of 0-180 degrees using the map() function. The write() function is then used to move the servo to the desired position, and a delay() of 15 milliseconds is added to allow the servo to reach the position. This process is repeated indefinitely, allowing the servo to continuously adjust its position based on the potentiometer input.
Applications
- Robotics: Servo motors are widely used in robotics to control various movements of robot parts such as arms, legs, and grippers.
- Aerospace: Servo motors are used in aerospace applications such as controlling the flaps and rudder of an aircraft, and in satellite orientation and control systems.
- Industrial automation: Servo motors are used in industrial automation systems to control the position and speed of conveyor belts, robotic arms, and other machinery.
- Automotive: Servo motors are used in automotive applications such as power steering, throttle control, and door locks.
- Camera control: Servo motors are used in camera gimbal systems to stabilize the camera and provide smooth movements for capturing videos and photos.
- Medical equipment: Servo motors are used in medical equipment such as surgical robots, dialysis machines, and prosthetic devices to provide precise and controlled movements.
- Home automation: Servo motors are used in home automation systems to control various devices such as window blinds, lighting systems, and security cameras.
Conclusion
Servo motors are a powerful tool in the world of robotics and automation. With the help of Arduino, we can easily and precisely control these motors to perform a wide range of tasks.
Comments 0
Be the first to comment.
Leave a comment